Let's see step by step how it is done with Blender.
Example 1: Supermarket floor tiles
To understand the basic principle we will first focus on a Supermarket 2 floor sample.

We want to give this floor a reflection. Select all the faces and check the Translucent property

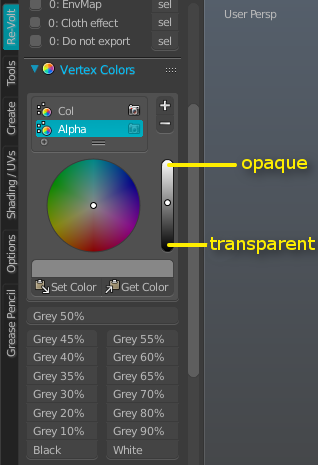
If haven't done already, create a new vertex color layer and name it "Alpha". This new layer will allow us to change the transparency of the faces (the darker a face is, the more transparent it will appear in game).

For this example I set the Alpha layer at Grey 30%
Export the mesh as "trackname.w" and "trackname.ncp" into your level folder, where "trackname" is the name of your track.
Now create a plane as a new object and place it where you want to have the mirror effect. In our case the plane needs to cover the entire floor.
With only the mirror plane selected, check the Is Mirror Plane property, located in the "Re-Volt Properties" tab.

Finally export the mirror plane as "trackname.rim".
The ".rim" file keeps every object with the "Is Mirror Plane" property enabled.
In-game now, you can see the car's reflection beneath the surface. You can change the intensity of the reflection by adjusting the Alpha layer of the mirror plane.

Example 2: Water puddle illusion
As for my personal project, I used mirrors in order to create a water puddle on the racing line.
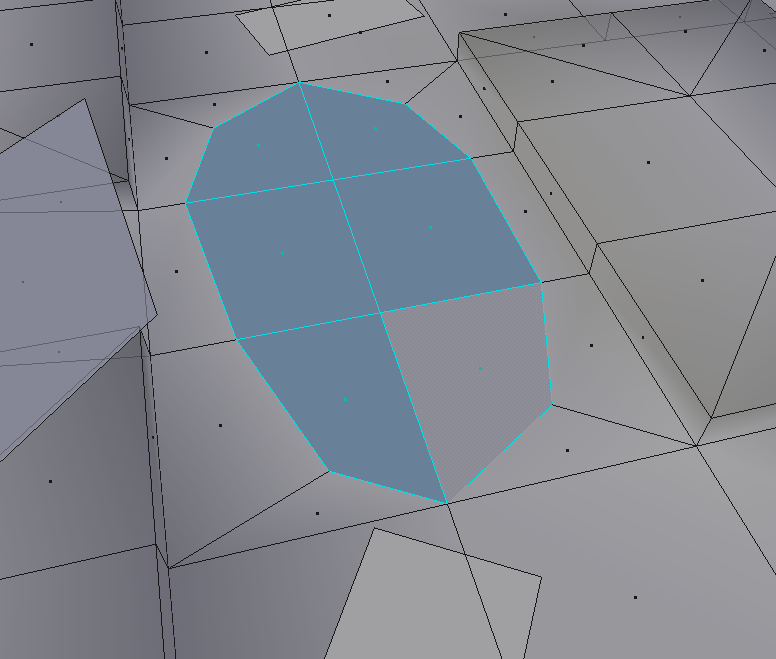
First I cut the polygons in order to shape my water puddle.

The only difference with the first example is that the surface I want to give a reflection to is not a square anymore.
But it doesn't change anything for me, I simply made a plane big enough to recover every translucent face (the water puddle).

Here is the in-game result:

I then gave the puddle a slippery material and added water particles to finish the effect.
This tutorial is only my personal way to operate. Feel free to correct me or point any imprecision you encountered.
Made by L17
